
I made my third wooly pine tree today. This time I used an idea from Wool Workers Magazine and used glue and glitter to add a snowy effect to the tips of the branches. I used an old paint brush to brush glue along one edge of the wool strip. I then added glitter, I love the glitter that I used, it is fromMichael's. It is Reflections from the scrapbooking section.
After letting it dry, I then cut the strips to form the individual branches. Most of the instructions I have found, say cut the strips at 1/4 inch intervals, I cut my much smaller than that.
Here are some of the branches before they are attached to the tree.
 |
| A close up of the snow. |
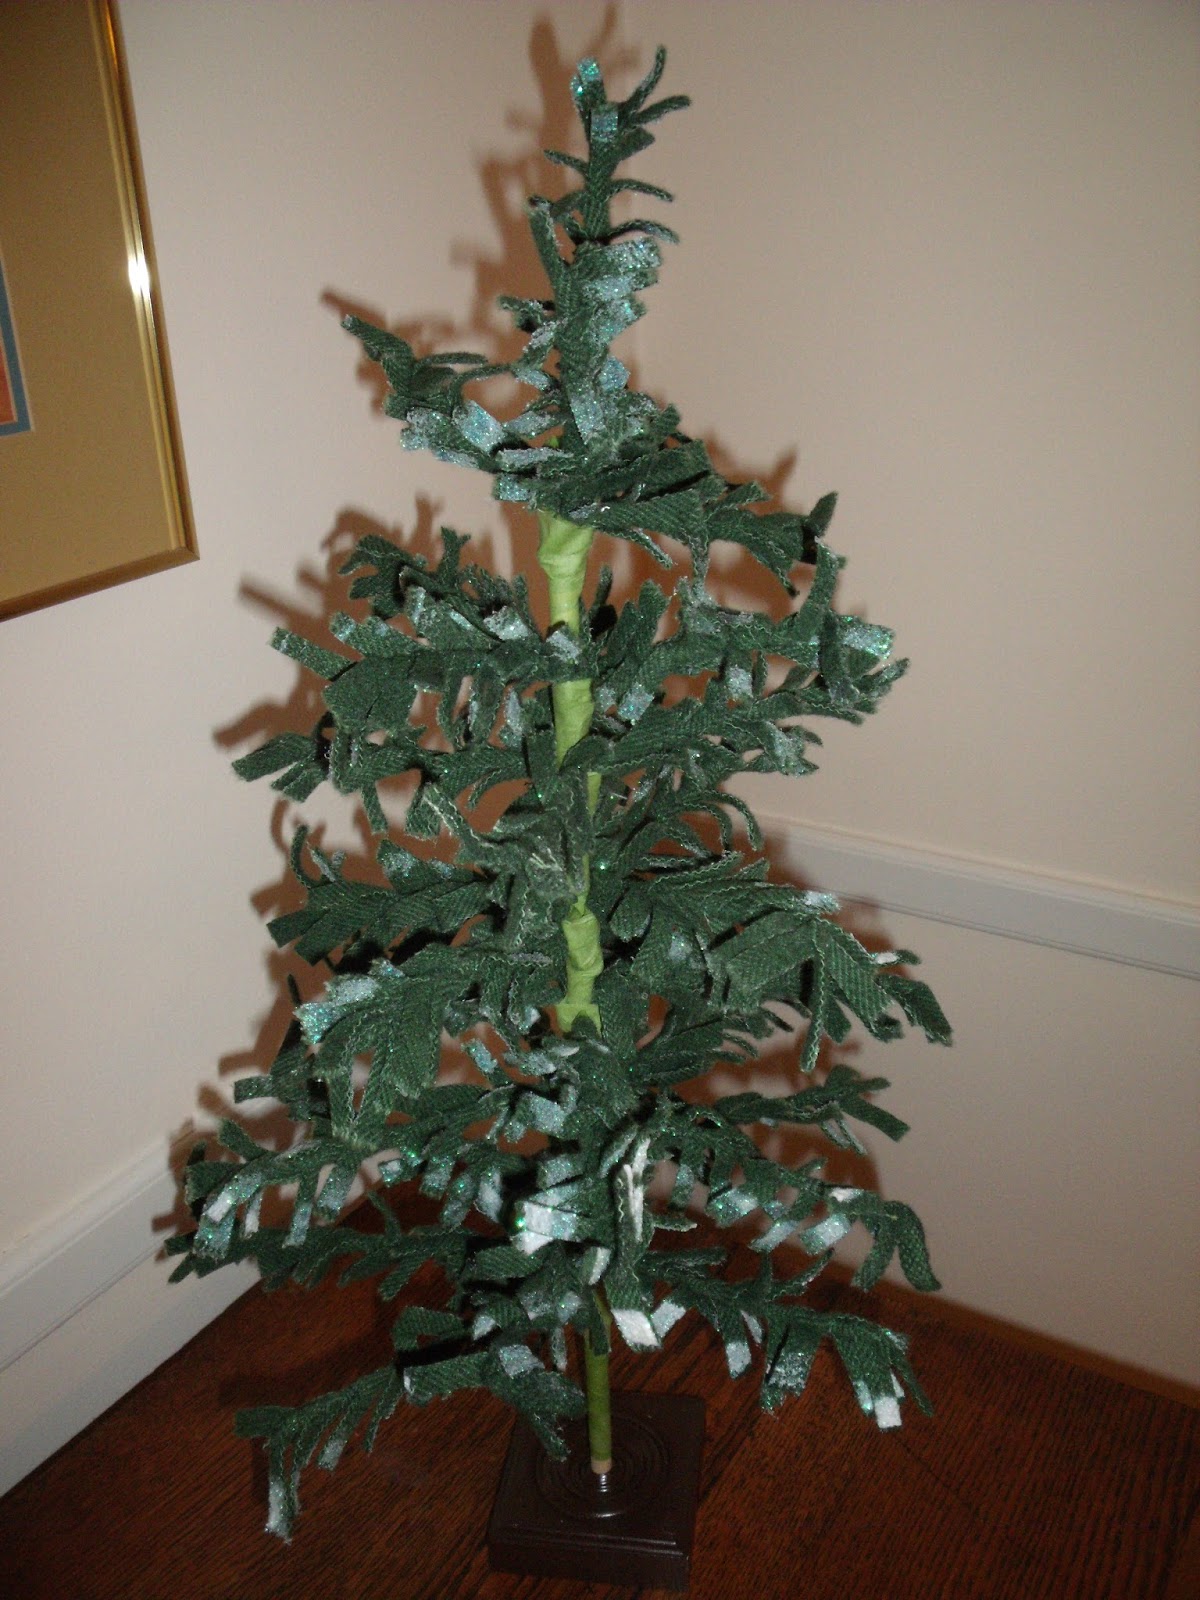
 |
| Finished snow tipped tree. |
 I made my third wooly pine tree today. This time I used an idea from Wool Workers Magazine and used glue and glitter to add a snowy effect to the tips of the branches. I used an old paint brush to brush glue along one edge of the wool strip. I then added glitter, I love the glitter that I used, it is fromMichael's. It is Reflections from the scrapbooking section.


No comments:
Post a Comment